Ready to upgrade your floors? Installing vinyl plank flooring is simpler than you think.
This affordable, durable option gives stunning results without professional help. Follow our step-by-step guide to transform any room with beautiful new floors.
We’ll walk you through everything – from prep work to finishing touches – so your DIY project looks professionally done.
Key Notes
- Proper subfloor preparation prevents buckling and uneven installation.
- Stagger joints by at least 6 inches for better stability and appearance.
- Always leave expansion gaps to prevent warping.
- Different installation methods work best for different spaces.’
Overview: Vinyl Plank Flooring Installation
| Step | Details |
|---|---|
| Preparation | Remove old flooring, clean, level subfloor |
| Installation Method | Floating (click-lock) or glue-down |
| Cutting | Utility knife for straight cuts, jigsaw for details |
| Staggering Joints | Minimum 6 inches for stability |
| Finishing Touches | Baseboards, trim, transition strips |
| Common Mistakes | Skipping expansion gaps, uneven subfloor |
Tools and Materials
Before you start your vinyl flooring installation, gather everything you need. Having the right gear makes the job easier and ensures professional-looking results.
- Vinyl flooring tools – Utility knife, tape measure, pencil, pull bar, rubber mallet, and tapping block.
- Installation materials – Vinyl planks, underlayment (if needed), spacers, and transition strips.
- Cutting and fitting tools – Jigsaw, circular saw, or flooring cutter for cutting vinyl plank flooring around obstacles.
Preparation Steps
Skipping prep work leads to uneven floors and buckling planks. Take the time to do it right.
- Remove existing flooring – Carpet, tile, or laminate? Get it out and scrape off any adhesive residue.
- Floor preparation – Vacuum and mop to remove dust and debris.
- Subfloor cleaning – Make sure it’s completely dry before moving on.
- Leveling the floor – High spots? Sand them down. Low spots? Fill them with a leveling compound.
- Acclimate your planks – Leave them in the room for 48 hours so they adjust to temperature and humidity.
Installation Process
Once your space is prepped, it’s time to lay the flooring.
- Plan the layout – Measure the room and decide on the best plank direction. Usually, laying planks parallel to the longest wall looks best.
- Install the underlayment (if needed) – Some vinyl plank flooring options come with a built-in underlayment. If yours doesn’t, roll one out for added comfort and moisture protection.
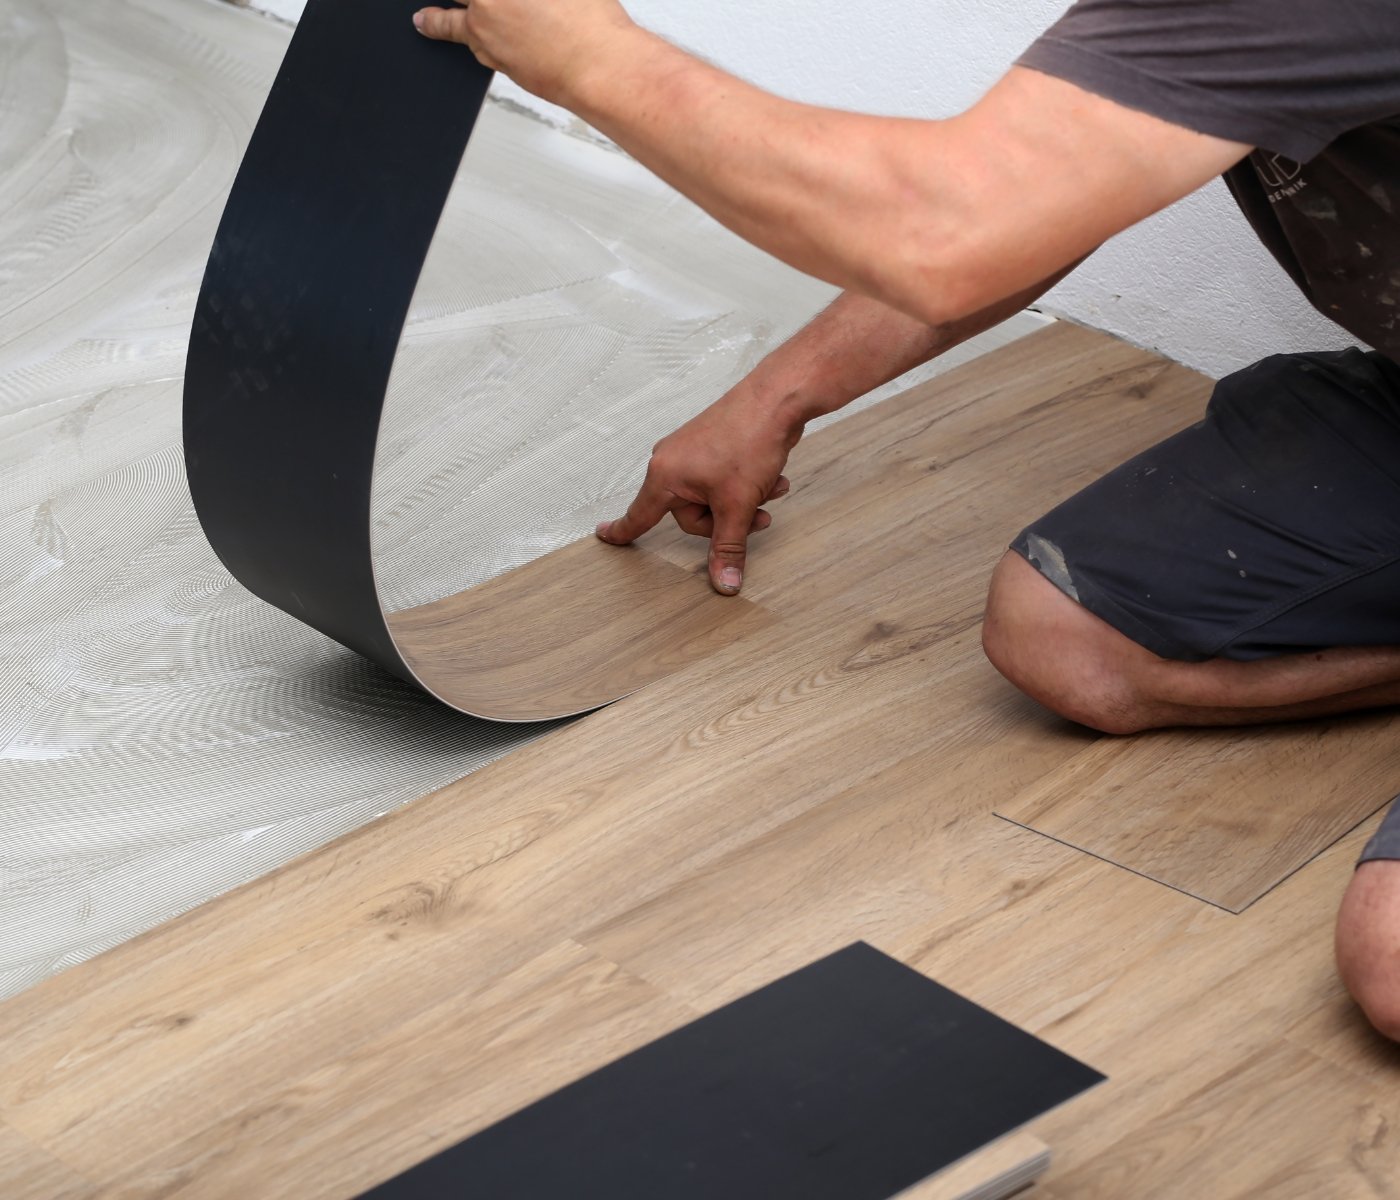
- How do you install the first row of vinyl plank flooring? – Start in a corner, placing spacers along the wall to allow for expansion. Snap planks together, end to end, using the locking system.
- Continue with subsequent rows – Stagger joints by at least six inches to avoid a repetitive look and improve stability.
- Fitting vinyl planks around obstacles – Use a template to trace irregular shapes like door jambs and cut carefully with a jigsaw.
- Installing the final row – Trim planks to fit snugly against the last wall.
Cutting and Fitting Techniques
Precision makes a difference. Here’s how to get clean cuts and perfect fits:
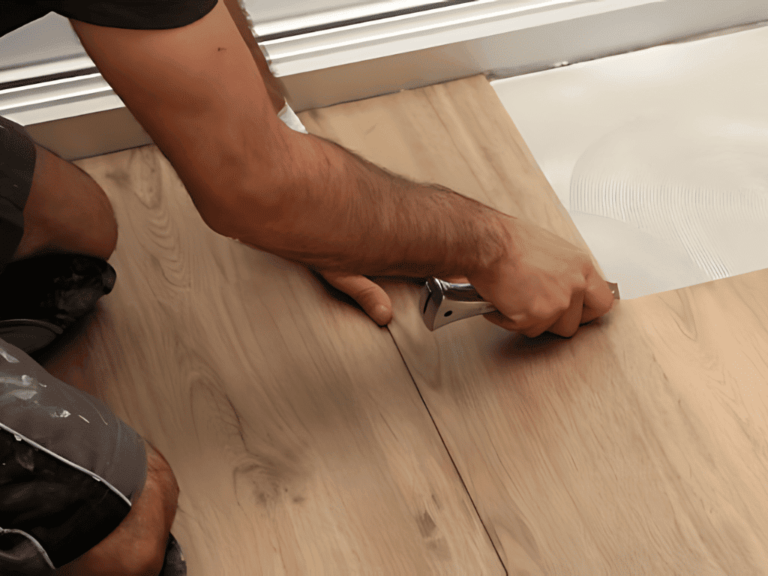
- Straight cuts – Score with a utility knife, then snap the plank.
- Custom cuts – A jigsaw is best for cutting around vents, corners, and pipes.
- Cutting vinyl plank flooring for tight spaces – Use a handsaw for delicate areas where power tools might be too aggressive.
How To Install Vinyl Plank Flooring on Stairs?
Adding vinyl planks to stairs takes extra effort, but the payoff is worth it.
- Measure and cut each piece individually – Stairs vary slightly in size, so precision matters.
- How to glue down vinyl plank flooring on stairs – Adhesive is necessary for stairs. Apply evenly to prevent shifting.
- Install stair nosing – This finishing piece protects edges and adds grip.
How To Install Vinyl Plank Flooring in Bathrooms?
Bathrooms need waterproof flooring and extra sealing to prevent moisture damage.
- Use waterproof vinyl plank flooring options – Not all vinyl planks are water resistant. Check before buying.
- Seal edges with silicone caulk – Creates a watertight barrier against splashes and spills.
- Install transition strips at doorways – This prevents water from seeping underneath.
Finishing Touches
Congratulations on getting this far! All that’s left is to put the finishing touches on your vinyl floor.
- Install baseboards and trim – To cover expansion gaps and give a clean look.
- Add transition strips – To create a smooth connection between different flooring types.
- Final cleaning – Mop up dust and debris for a polished finish.
Skirting Common Mistakes
Even a small misstep can cause big problems down the line.
- Skipping expansion gaps – Vinyl expands and contracts. Leave at least a 1/4-inch gap along your walls.
- Ignoring manufacturer guidelines – Read them. Every brand has specific instructions.
- Uneven subfloor – A lumpy base leads to a bouncy floor.
Professional Installation: When to Call in the Pros
Vinyl flooring is one of the easiest projects to tackle if you’re keen on DIY improvements for your home.
However, if your space has tricky layouts, multiple doorways, or uneven subfloors, hiring an expert saves time and frustration. A skilled installer ensures your floor looks seamless and lasts longer.
Tackling Tricky Cuts, Stairs Or Subfloors?
Frequently Asked Questions
Can a beginner install vinyl plank flooring?
Yes, a beginner can install vinyl flooring as its locking system makes it straightforward. With careful measuring and cutting, you can get great results.
Do you need to put anything under vinyl plank flooring?
It depends. Some planks have built-in underlayment, but if your subfloor is uneven or noisy, adding a separate layer helps.
Is it better to glue or float vinyl plank flooring?
Floating is easier for DIYers and allows for future removal. Glueing down provides extra stability, especially for stairs.
Conclusion
Installing vinyl plank flooring isn’t rocket science, but it does reward patience. If you rushed the prep or eyeballed your cuts, you probably felt it halfway through.
But if you took your time—leveled the floor, planned your layout, made those weird corner cuts with care—you’re likely staring at something that looks pretty great. It’s those small, fussy steps that end up making the biggest difference.
And if you hit a wall with stairs or wavy subfloors, you’re not alone—those spots trip up a lot of people. If you’d rather skip the trial and error, get in touch for a free quote. We’ll help you figure out what’s worth doing yourself—and what isn’t.